How to Perform the tp-link tapo c500 setup, installation, & firmware update?
Nowadays, everyone wants a reliable security system to protect their home or business. Among the many options available, Tapo Cameras stand out as one of the most trusted brands. By understanding the tp-link tapo c500 setup process, you can ensure your property stays safe and secure with ease.
Are you a new Tapo camera user and don’t know the setup procedure? Read this comprehensive guide to know how to configure, update firmware, and complete the tapo c500 Installation. Walk through this guide!

tp-link tapo c500 setup: Things to Know about it
Although you are a new user or a previous one, you must know some basic tp-link tapo c500 setup process. It requires more than simply plugging in and connecting to wifi to set up a smart outdoor security camera.
Before going ahead with the Tapo C500 installation, you must ensure that you have the following things;
- Secure Wi-Fi Network (2.4GHz only)
- TP-Link Tapo App (iOS or Android)
- TP-Link Account
- Power Source
- Smartphone or Tablet (for app-based setup and control), etc.
tapo c500 installation: Step-by-step process
Although the tapo c500 installation process is very easy and secure, you must know the steps to place it. Here are some basic steps to install,
- First of all, unbox your camera and attach the included adaptor to plug it into a power outlet.
- Then, go through the guide to drill holes in the mounting place of your choice.
- Now, install the camera and use screws to secure the bracket.
- After that, insert a microSD card for local storage in the SIM slot behind the lens.
- Finally, verify camera settings and orientation using the app, then finish the setup.
How to set up TP-Link Tapo C500 quickly at home?
Now, you can successfully install your TP-Link Tapo C500 with the help of the above guidance. After tapo c500 installation, you need to set it up. Even for novice users, it is an easy process for the tp-link tapo c500 setup
This detailed guide goes through each step of setting up the TP-Link Tapo C500.
- First of all, make sure your surveillance equipment is turned on and that the batteries are fully charged.
- Next, go to the wifi settings and connect the smartphone to the current home network.
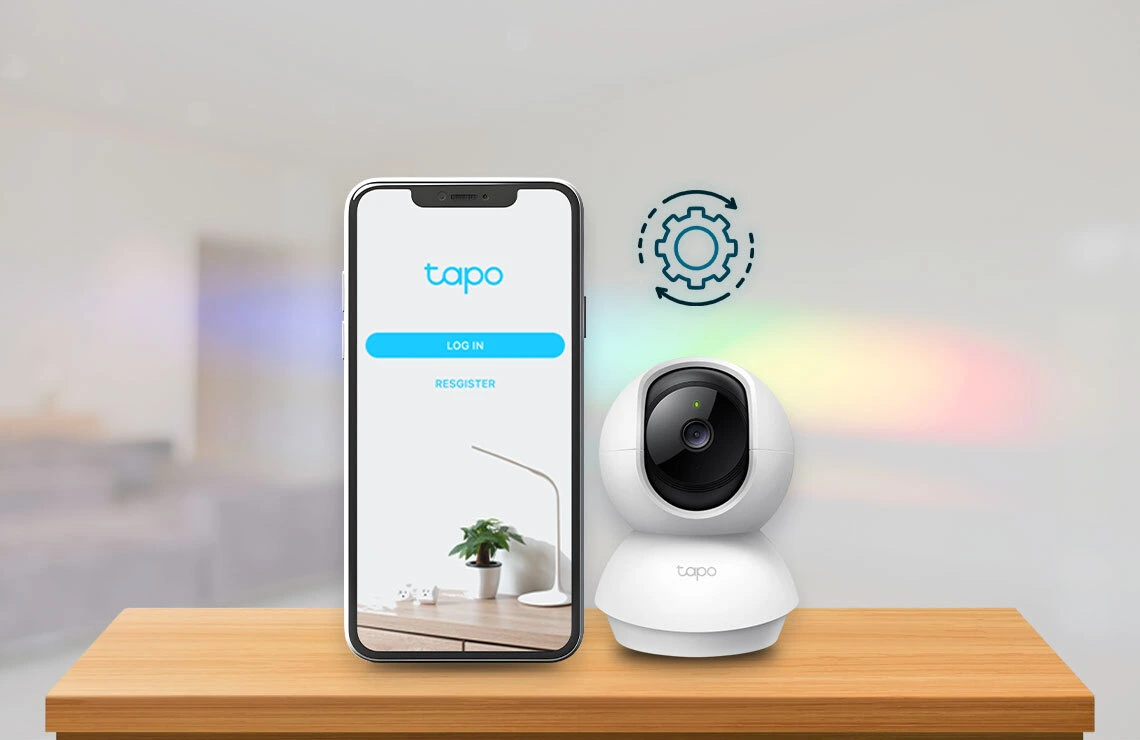
- Then, download the TP-Link Tapo app on your smartphone through the Google Play Store (Android) or App Store (iOS).
- After opening the app, if you are a new user, click the Create a TP-Link ID button, or you can enter your default credentials to log in.
- After that, plug the camera into a power outlet.
- Then, wait for the LED indicator on the camera to start blinking red and green. This indicates the camera is in pairing mode and ready for setup.
- Further, in the Tapo app, tap on the “+” icon to add your device.
- In addition, navigate to Add Your Device>Cameras>Tapo C500.
- After that, follow the instructions that appear on your screen to connect to the camera’s Wi-Fi network.
- Now, the app will list available Wi-Fi networks. Select your 2.4GHz home Wi-Fi network.
- After entering your Wi-Fi password, wait while the camera connects to your network. This may take 30–60 seconds.
- After adjusting your camera, your camera is ready to work. From here, you can access live video, set motion alerts, enable night vision, and more.
How to update the Tapo C500 firmware?
After the tp-link tapo c500 setup, you must be curious to know how I upgrade the performance of your device. Usually, a Tapo C500 firmware is the most effective way to enhance your camera’s functioning. So, follow the steps below to update the Tapo camera firmware:
- Firstly, make sure your camera is connected to a 2.4 GHz wifi network.
- Then, launch the Tapo app on your phone and log in using your valid email and password.
- After that, choose the Tapo C500 camera from the list of devices. Then, to access the camera’s settings.
- Furthermore, go to Device Settings and scroll down to “Firmware Update”.
- Now, your app will show you the latest firmware information.
- If there is any pending update, follow the on-screen instructions to update it.
- Moreover, you can also set “Auto Update” on your camera and schedule the update time accordingly.
- After the update is complete, you can verify that your camera is running the most recent version by restarting the app.
In a nutshell, this is to say that you have now mastered the tp-link tapo c500 setup with this comprehensive guide. With the quick setup instructions given above, you can enjoy ultimate peace of mind at home. Additionally, you have learned the quickest way to set up, install, and update your camera’s functionalities. You’re now ready to keep a watchful eye on your home and improve your security. For any additional details or support, don’t hesitate to ask.